记一次终端美化
windows系统利用oh-my-posh美化终端,包括CMD,POWSHELL,GITBASH,WSL(UBUNTU)
会增加CPU负担,慎重选择
因为是同一系统上,这里直接在windows上安装oh-my-posh和对应字体
wsl需要再安装一次oh-my-posh
官方文档
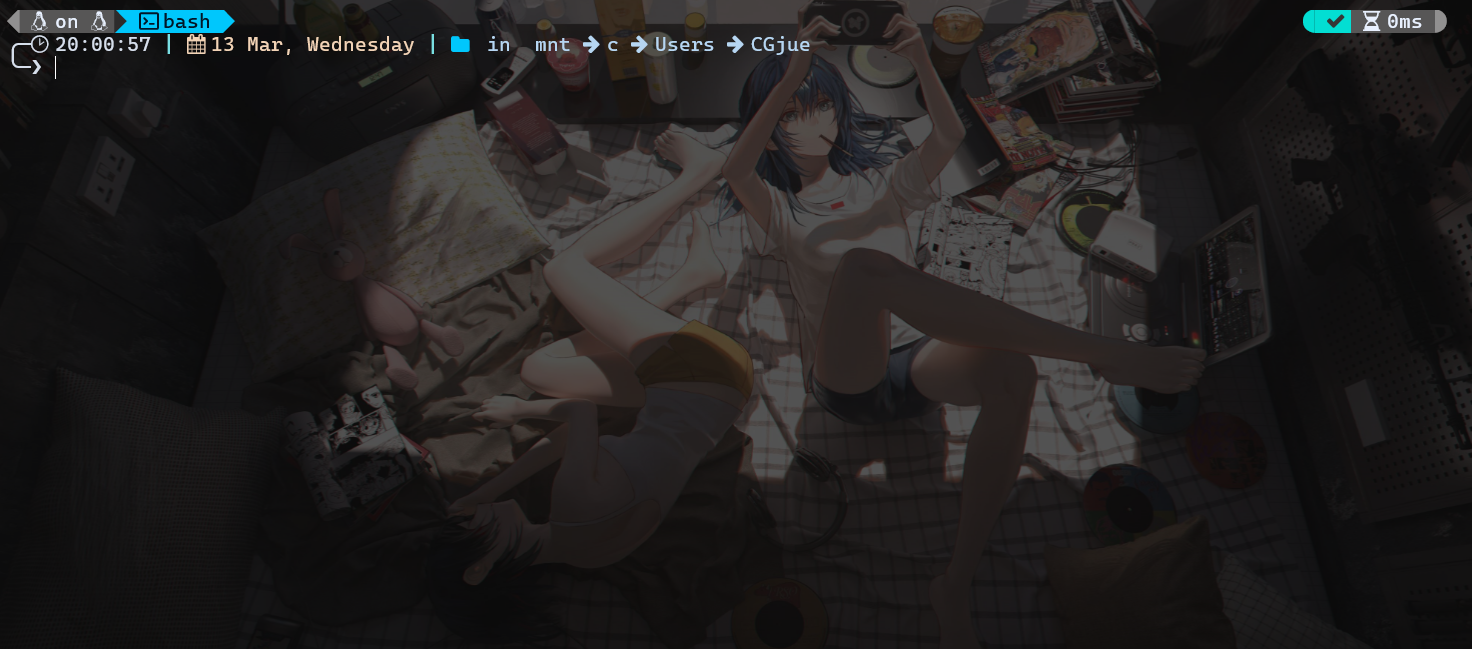
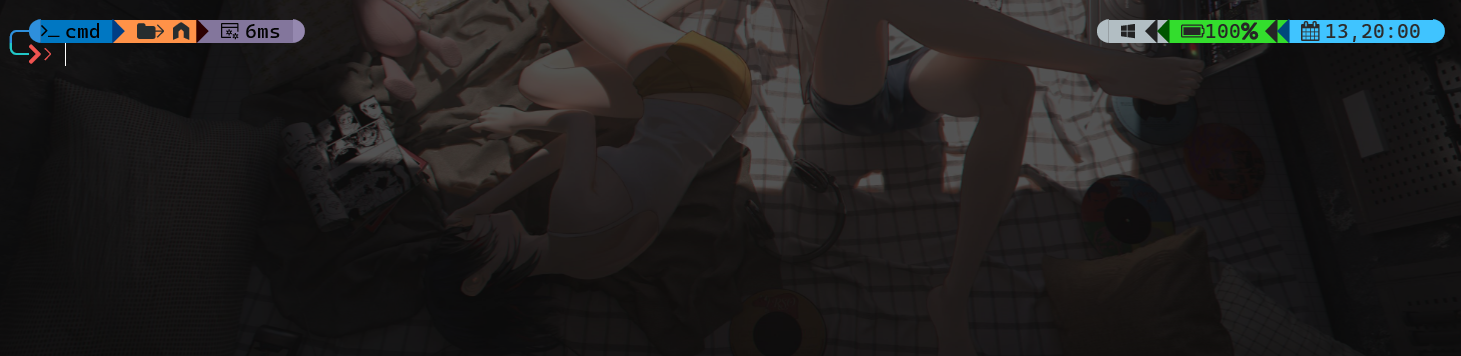
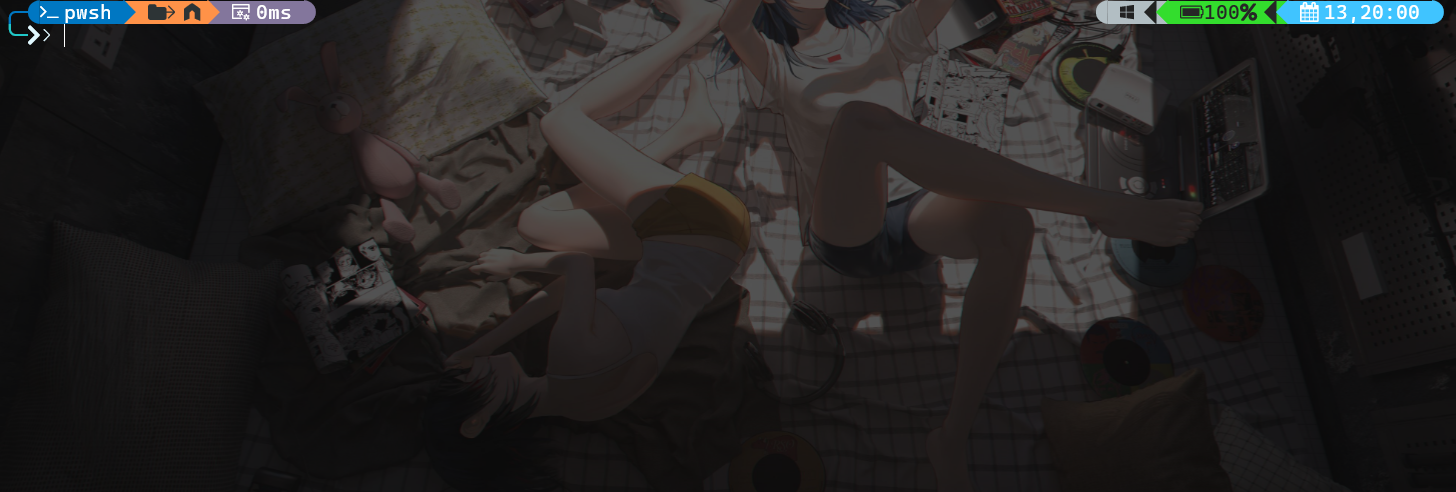
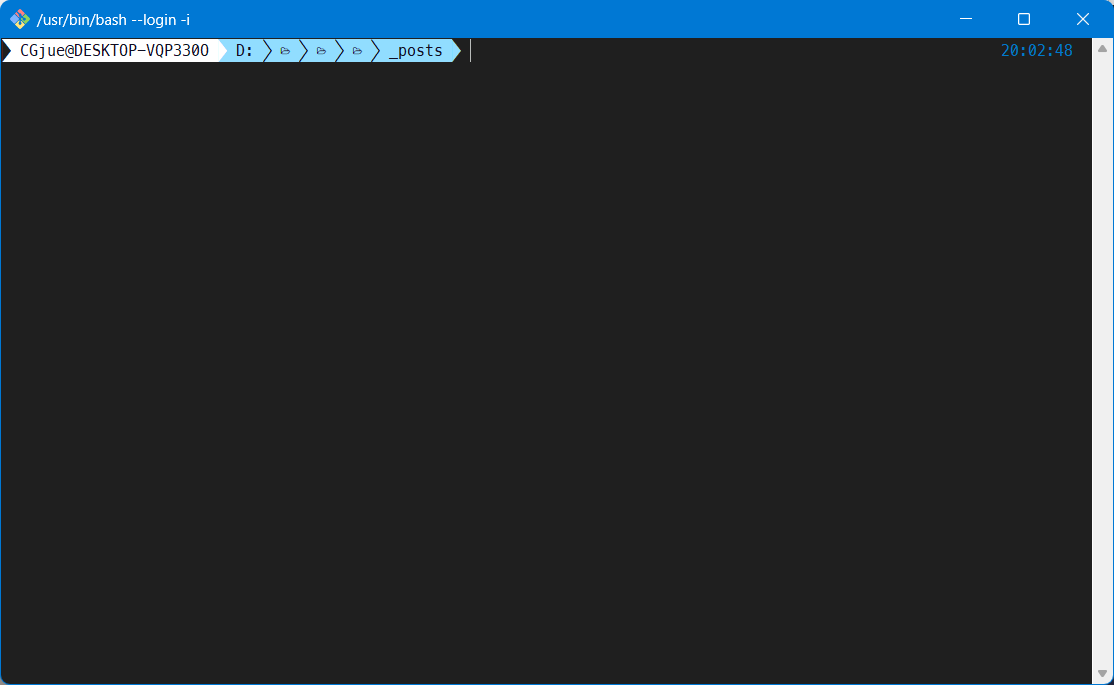
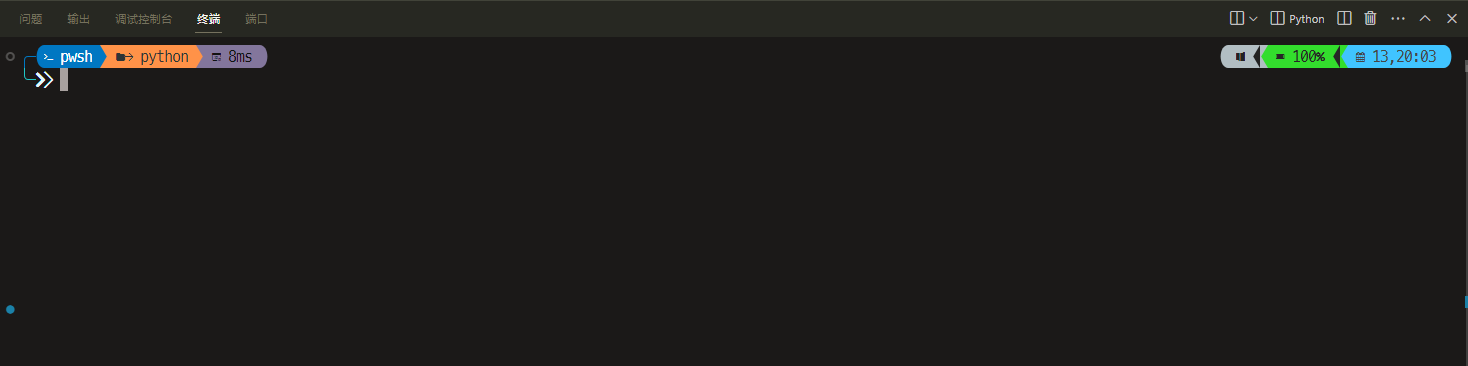
效果图
前置
字体
https://www.nerdfonts.com/font-downloads
下载喜欢的,解压后全选,右键点击安装
文件图标库
安装字体后安装
1
| Install-Module -Name Terminal-Icons -Repository PSGallery
|
oh-my-posh
powershell管理员打开
1
| Install-Module oh-my-posh -Scope CurrentUser -SkipPublisherCheck
|
安装posh-git
1
| Install-Module -Name PSReadLine -Scope CurrentUser -Force -SkipPublisherCheck
|
安装检测
POWERSHELL
设置字体
在终端设置里,选择支持字体(Nerd Fonts字体)
例如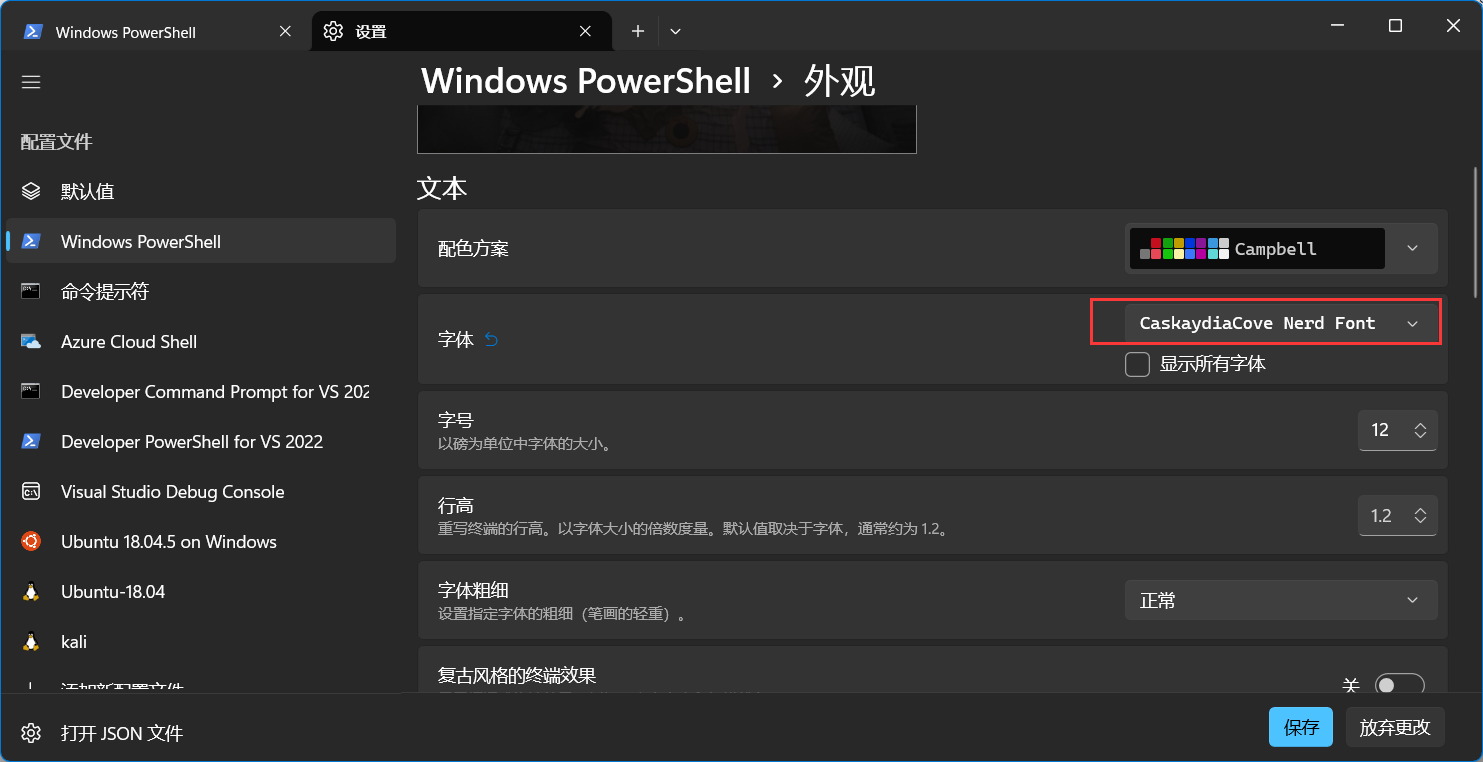
配置文件
1
2
3
4
5
| # 通过记事本打开powershell配置文件
notepad $PROFILE
# 若上述命令报错,找不到powershell配置文件,则需创建powershell配置文件,执行如下命令
New-Item -Path $PROFILE -Type File -Force
|
内容如下
1
2
3
4
5
6
7
8
9
10
11
12
| oh-my-posh init pwsh --config "C:\Users\CGjue\AppData\Local\Programs\oh-my-posh\themes\atomic.omp.json" | Invoke-Expression #主题地址
Import-Module posh-git # 引入 posh-git
Import-Module Terminal-Icons
Import-Module -Name Terminal-Icons # 引入文件图标库
# 设置主题
# Set-PSReadLineOption -PredictionSource History
Set-PSReadlineKeyHandler -Key Tab -Function MenuComplete # 设置 Tab 键,命令行自动补全和提示
# Set-PSReadLineKeyHandler -Key "Ctrl+d" -Function MenuComplete
# Set-PSReadLineKeyHandler -Key UpArrow -Function HistorySearchBackward
# Set-PSReadLineKeyHandler -Key DownArrow -Function HistorySearchForward
|
修改配置
脚本未签名,运行不了,尝试自签失败
改个配置,有危险,自行决定
| 组策略 |
执行策略 |
| 允许所有脚本 |
Unrestricted |
| 允许本地脚本和远程签名脚本 |
RemoteSigned |
| 仅允许签名脚本 |
AllSigned |
运行
1
| set-executionpolicy remotesigned
|
然后运行
CMD
完成前置后,安装clink工具,双击exe安装包即可安装
然后,进入clink安装目录,创建oh-my-posh.lua文件,添加如下内容:
1
| load(io.popen('oh-my-posh init cmd'):read("*a"))()
|
重启生效
GITBASH
字体
右键,文本,选择字体(Nerd Fonts类字体)
配置
将 “~\AppData\Local\Programs\oh-my-posh\themes\你想用的主题.omp.json” 文件拷贝到 C:\Users\你的用户名 目录下;再在 ~/.profile 文件(没有则touch .profile创建)添加命令,后执行 . ~/.profile 刷新,重启终端即可生效。
1
| eval "$(oh-my-posh --init --shell bash --config ~/agnosterplus.omp.json)"
|
WSL
下载
Oh my posh 64位版本,并导入到 /usr/local/bin/oh-my-posh 路径下
1
| sudo wget https://github.com/JanDeDobbeleer/oh-my-posh/releases/latest/download/posh-linux-amd64 -O /usr/local/bin/oh-my-posh
|
若github 下载速度慢,可以参照网络上 github 加速方法,更换下载源
1
| sudo wget https://github.91chi.fun/https://github.com//JanDeDobbeleer/oh-my-posh/releases/download/v7.61.0/posh-linux-amd64 -O /usr/local/bin/oh-my-posh
|
权限
为 oh-my-posh 添加运行权限
1
| sudo chmod +x /usr/local/bin/oh-my-posh
|
配置
1
2
3
4
| #ubuntu系统
vi ~/.bashrc
#kali系统
vi ~/.zshrc
|
添加如下代码
1
| eval "$(oh-my-posh --init --shell bash --config 主题路径)"
|
例如
1
| eval "$(oh-my-posh --init --shell bash --config /mnt/c/Users/CGjue/AppData/Local/Programs/oh-my-posh/themes/kushal.omp.json)"
|
VSCODE
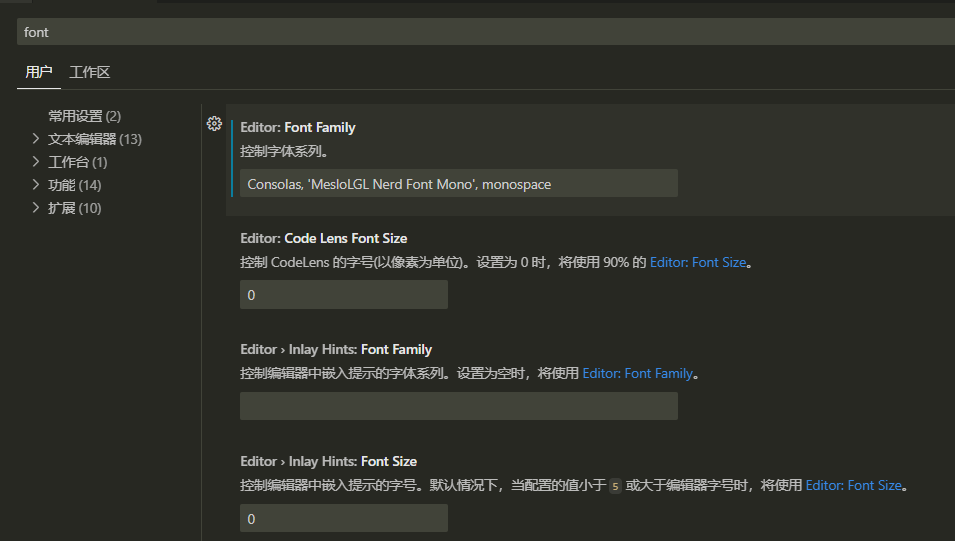
字体
打开设置,搜索font
1
2
3
| Consolas, 'MesloLGL Nerd Font Mono', monospace
#MesloLGL Nerd Font Mono换自己喜欢的字体
也可以直接MesloLGL Nerd Font Mono
|
配置
- 在VSCODE中按键 CTRL+ SHIFT + P
- 输入 Terminal select default profile
- 选择默认的终端 WINDOWS:powershell, terminal等
设置后会跟随默认的终端配置